ALL
Fractional CO2 Laser Machine Steps Explained: Before, During, and After Treatment
⚠️ Fractional co2 laser machine steps are often misunderstood or applied inconsistently, which in turn leads to uneven results, prolonged
⚠️ Fractional co2 laser machine steps are often misunderstood or applied inconsistently, which in turn leads to uneven results, prolonged
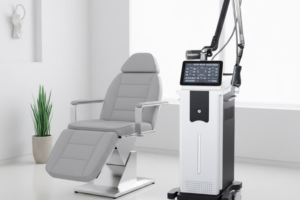
❓ How to install the Fractional CO2 Laser Machine correctly is a critical question for aesthetic practices investing heavily in

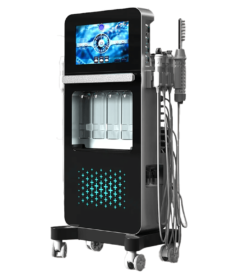
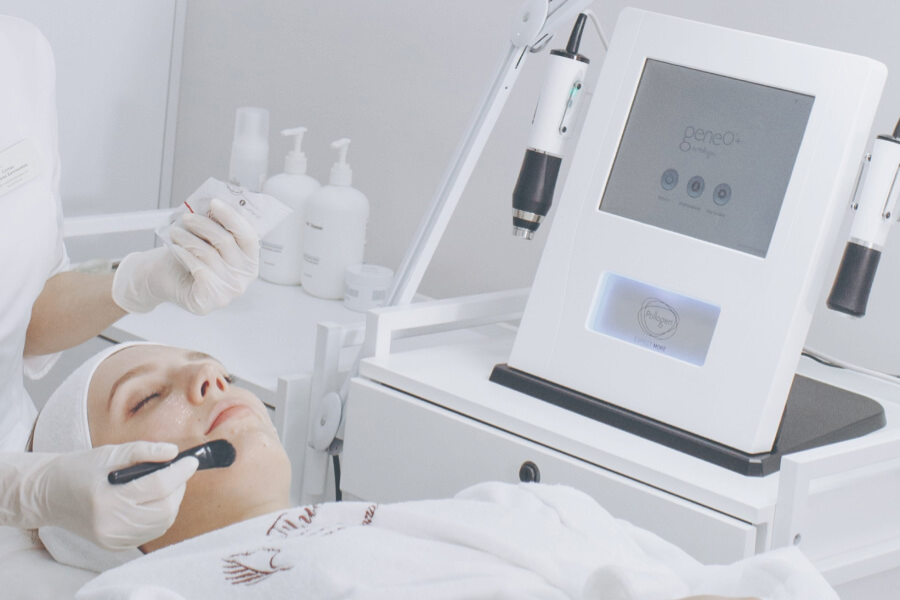
Get started with the OxyGeneo Facial Machine from Skyline Medical – your all-in-one solution for flawless treatments and glowing skin. Follow our expert guide to deliver safe, effective, and rejuvenating facials every time!


No account yet?
Create an Account